
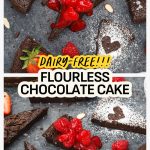
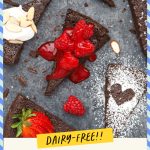
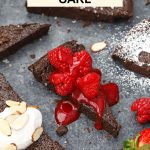
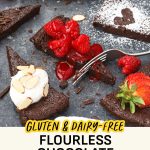
Dairy-Free Flourless Chocolate Cake for the win! This dense, perfectly rich chocolate cake is gluten-free, dairy-free, paleo, and naturally sweetened, but has all the indulgent flavor you’re looking for on a special occasion.

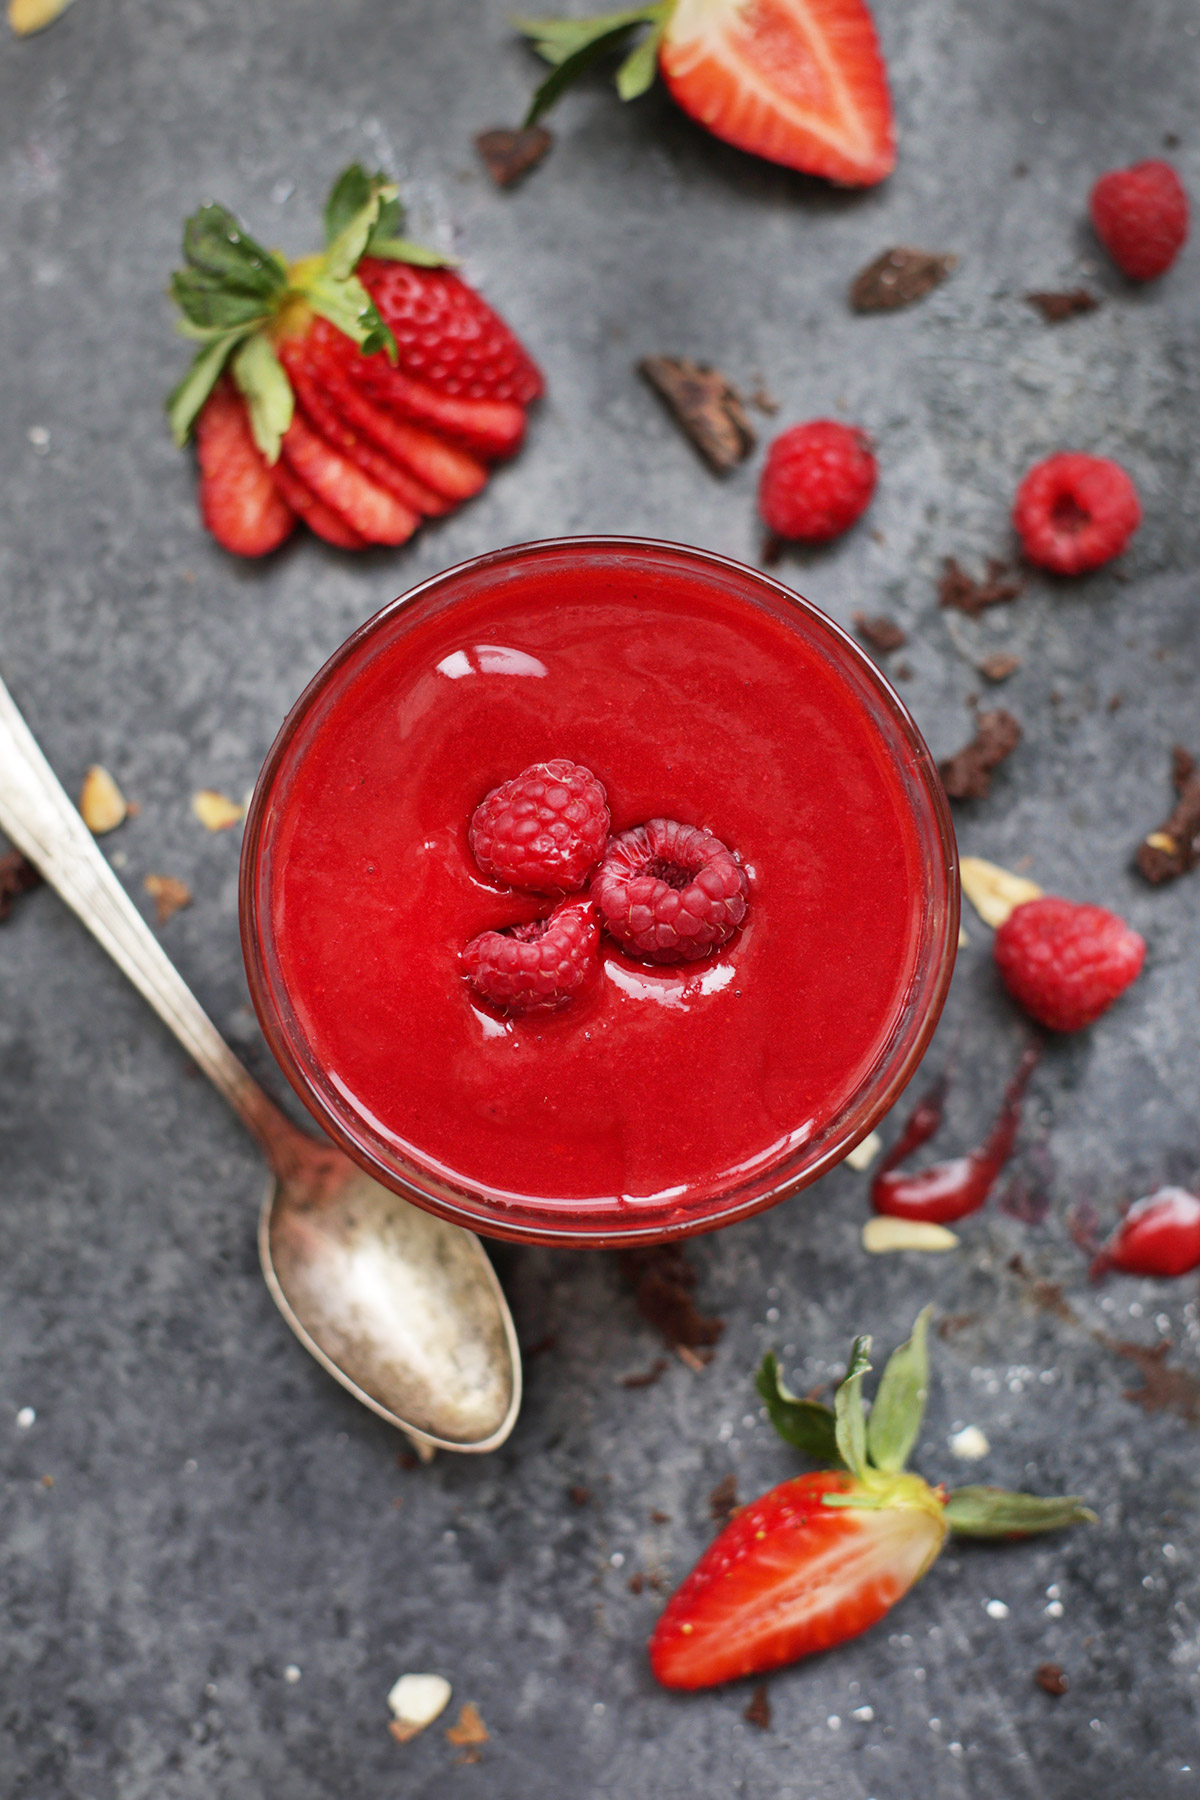
I need very few excuses to make something chocolate, but Valentine’s Day is one of my favorites. So, I did it up right–a dense, perfectly rich flourless chocolate cake. And, because I couldn’t resist, a bright, beautiful raspberry sauce to drizzle over top.
This, dear reader, is what chocolate dreams are made of.
I love flourless chocolate cake for its fudgy texture and the delicious richness that’s perfect in small doses. A thin little slice feels just decadent enough without being too much. This flourless chocolate cake is made from gluten and dairy free ingredients and couldn’t be easier.
Start With Simple Ingredients
Another great thing about dairy-free flourless chocolate cake? The simple ingredients list! Let’s take a look:

How to Make Dairy-Free Flourless Chocolate Cake, Step By Step
As always, you can find the full recipe, with ingredient amounts, detailed instructions, and tips in the recipe card below!

- Preheat & Prep. To start, preheat the oven to 375 degrees F. Grease an 8 or 9 inch springform pan, or grease an 8 or 9 inch round cake pan. If using a cake pan instead of a springform, cut two long strips of parchment paper and make an “X” on the bottom of the pan. Fold them over the edge of the pan a bit so they don’t flop right into your batter. Then, layer in a circle that’s been cut to fit the bottom of your pan (I just trace the pan on parchment and cut it out). When the cake has cooled a few minutes on a cooling rack, you’ll use the “X” strips as handles to lift the cake out.
- Melt Chocolate & Coconut Oil. In a medium microwave safe bowl (or a medium saucepan), melt unsweetened chocolate and coconut oil together over low heat until completely smooth.
- Whisk Eggs. While the chocolate is melting, whisk eggs together in a bowl until they are slightly lighter in color. (When you lift your whisk up, the eggs should fall in a thin stream instead of in clumps–this is called the “ribbon test”)
- Combine. When the chocolate is melted, remove from heat. Stir in maple syrup to cool the chocolate mixture down slightly, then slowly whisk in the eggs. Stir in vanilla extract and salt. Sift in the cocoa powder (to avoid lumps) using a sifter or fine mesh sieve and stir to just combine.
- Transfer The Batter. Pour cake batter into your prepared pan, gently shake the pan back and forth a bit to settle the batter, and transfer to the oven.
- Bake 15-20 minutes, or until the middle is just set. (if using a 9 inch pan, you’ll want to check it at 13-15 minutes as it may cook slightly faster) Remove from oven and allow to cool 5-10 minutes in the pan before transferring out of the pan and onto a cooling rack. If you’ve used a springform pan, you’ll open the ring and allow the cake to finish cooling on the cooling rack that way. If you’ve used the parchment trick, use the “handles” you made with the parchment to gently lift the cake out and transfer to a cooling rack.
- Serve. Enjoy this cake with your favorite toppings, like raspberry sauce, powdered sugar, dairy-free whipped cream, etc. Store leftover cake (without toppings!) in an airtight container at room temperature 1-2 days, in the refrigerator 3-4 days, or freeze up to 2 months.

Delicious Toppings To Try
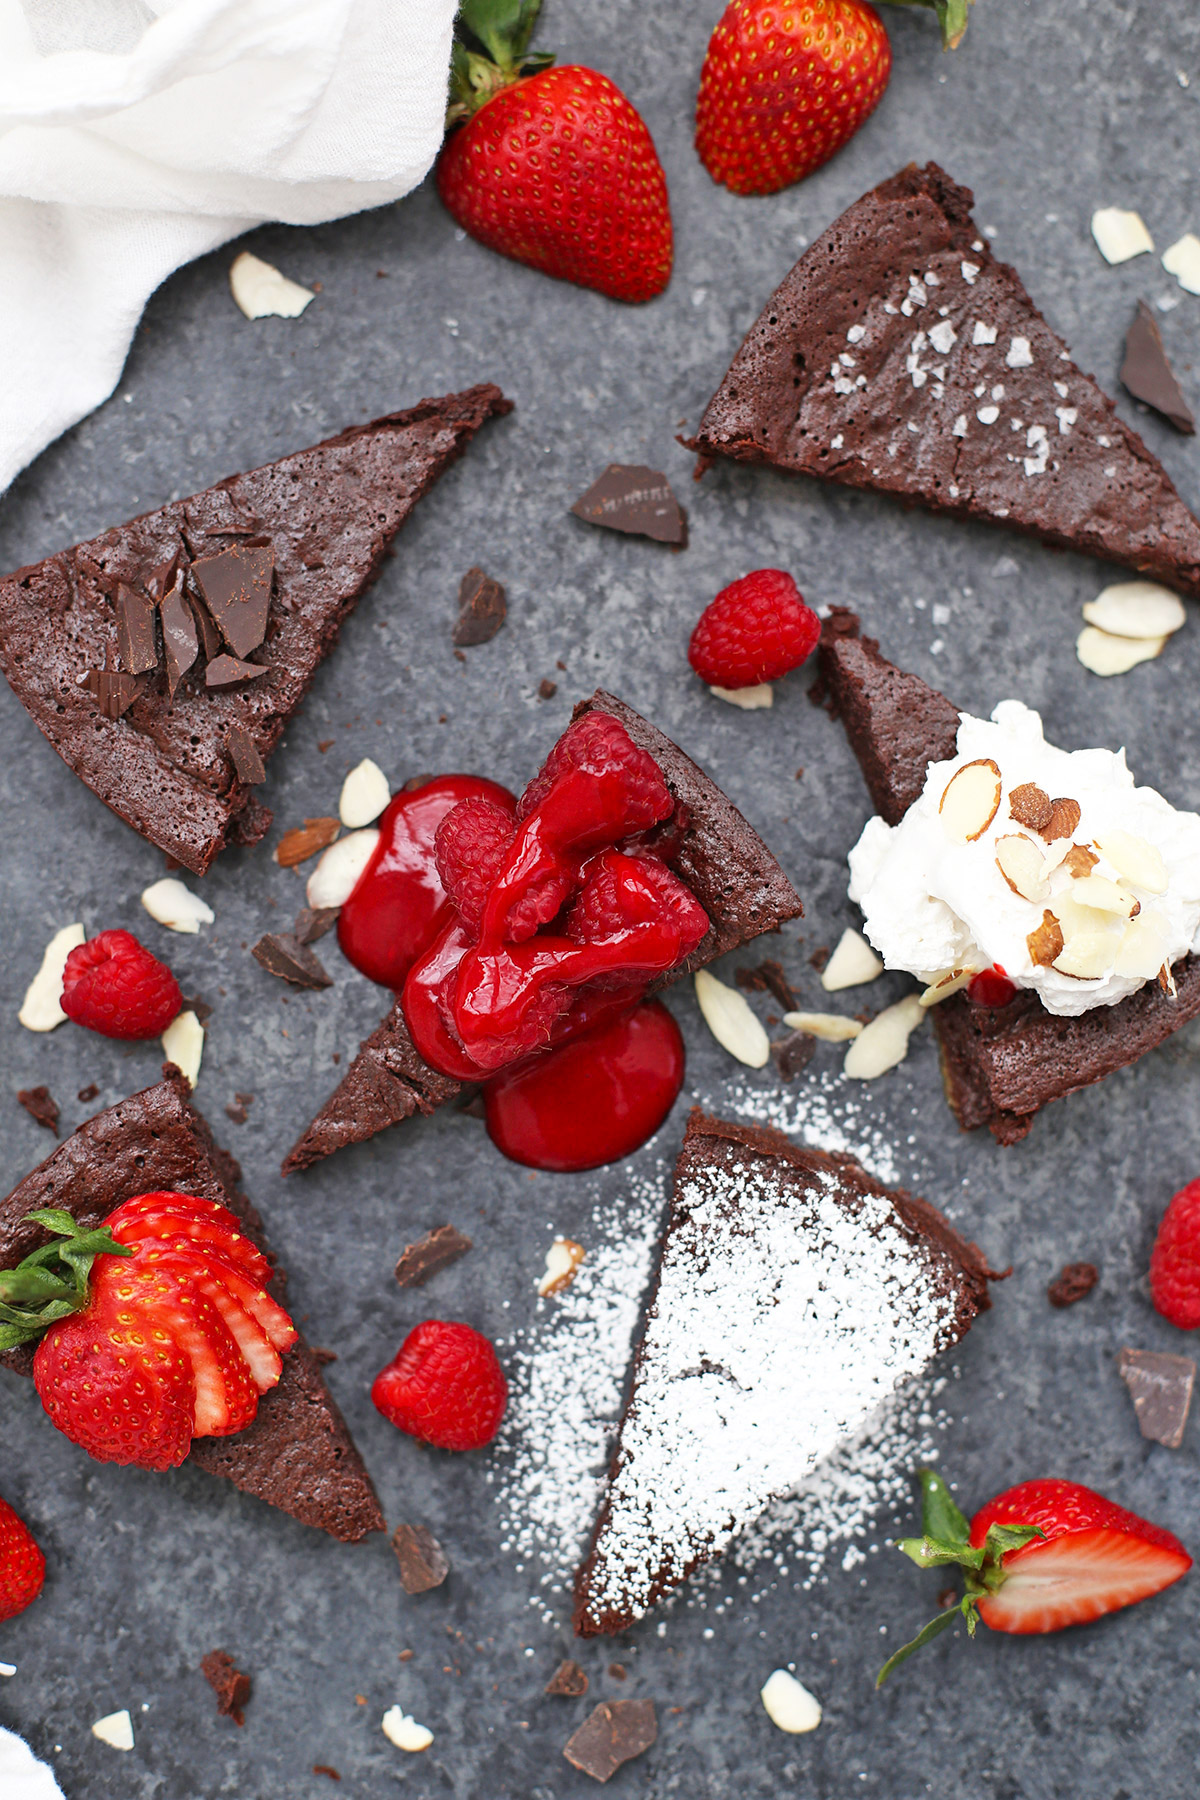
Flourless chocolate cakes are very no-fuss, but they feel really indulgent and a little bit fancy, which makes them perfect for dinner parties or holidays. They stand on their own beautifully, but there are also a TON of ways you could serve this to take it to the next level…
- Fresh raspberry sauce (raspberry coulis)
- Sliced strawberries
- Whipped coconut cream or whipped cream
- Shaved chocolate
- A pinch of coarse sea salt
- Toasted almonds or hazelnuts
- Vegan caramel sauce
- A sprinkle of powdered sugar
- Coconut (especially toasted coconut)
- Toffee bits
However you plan to serve it, trust me that a thin little slice goes a long way. And the final result will be delicious!


Tips & Tricks For The Best Paleo Flourless Chocolate Cake
THIS IS A DENSE CAKE. This flourless chocolate cake won’t rise much at all, and it’ll be very fudgy and rich (somewhere between a truffle and a brownie). That’s the beauty of flourless chocolate cake. It’s a little bit different, and it’s SO GOOD. Don’t panic if it doesn’t puff up much in the oven. That’s exactly how it’s supposed to be.
IT FREEZES LIKE A DREAM! You can slice and freeze flourless chocolate cake with no trouble, which means it’s great for making ahead of time (or pulling out a single slice on a day when it would hit the spot). Similarly, you can make the raspberry sauce ahead of time. You can freeze it, or refrigerate it.
Tips For Getting Flourless Chocolate Cake Out Of The Pan
- Try A Springform Pan! You can certainly use a spring-form pan for this. Springform pans have removable sides, which means you don’t have to worry about flipping or lifting the cake out of the pan. I’ve also made it with an 8-inch or 9-inch cake pan and haven’t had any problems.
- Use Parchment Paper. If you’re using a regular pan, the trick is to use parchment paper. First, grease your pan (or spray it with nonstick spray). Cut two long strips of parchment and make an “X” on the bottom of the pan. Fold them over the edge of the pan a bit so they don’t flop right into your batter. Then, layer in a circle that’s been cut to fit the bottom of your pan (I just trace the pan on parchment and cut it out) and pour in your batter. When the cake has cooled a few minutes on a cooling rack, you’ll use the “X” strips as handles to lift the cake out.


Did You Make This Recipe?
Tell me all about it! Leave a star rating below when you try our Gluten-Free Dairy-Free Flourless Chocolate recipe. I can’t wait to hear how it goes!
Flourless Chocolate Cake (Dairy Free, Gluten Free)
Ingredients
For the Cake:
- 4 oz unsweetened baking chocolate
- 1/2 cup (8 Tablespoons) coconut oil – measure solid
- 3/4 cup pure maple syrup
- 3 large eggs
- 1/4 cup unsweetened cocoa powder*
- 1/2 teaspoon vanilla extract
- 1/4 teaspoon salt
For Raspberry Sauce:
- 1 (10 oz) package of frozen raspberries, slightly thawed (or 10 oz fresh raspberries)
- 2-3 Tablespoons honey
- 2 Tablespoons fresh lemon juice
Other Optional Toppings:
- Fresh strawberries
- Dairy-free whipped cream
- Toasted almonds or hazelnuts
- Flaky sea salt like Maldon
- Shaved chocolate
- Powdered sugar
- Toasted coconut
- Vanilla ice cream
Instructions
Make The Cake:
- Preheat & Prep. To start, preheat the oven to 375 degrees F. Grease an 8 or 9 inch springform pan, or grease an 8 or 9 inch round cake pan. If using a cake pan instead of a springform, cut two long strips of parchment paper and make an "X" on the bottom of the pan. Fold them over the edge of the pan a bit so they don't flop right into your batter. Then, layer in a circle that's been cut to fit the bottom of your pan (I just trace the pan on parchment and cut it out). When the cake has cooled a few minutes on a cooling rack, you'll use the "X" strips as handles to lift the cake out.
- Melt Chocolate & Coconut Oil. In a medium microwave safe bowl (or a medium saucepan), melt unsweetened chocolate and coconut oil together over low heat until completely smooth.
- Whisk Eggs. While the chocolate is melting, whisk eggs together in a bowl until they are slightly lighter in color. (When you lift your whisk up, the eggs should fall in a thin stream instead of in clumps–this is called the "ribbon test")
- Combine. When the chocolate is melted, remove from heat. Stir in maple syrup to cool the chocolate mixture down slightly, then slowly whisk in the eggs. Stir in vanilla extract and salt. Sift in the cocoa powder (to avoid lumps) using a sifter or fine mesh sieve and stir to just combine.
- Transfer The Batter. Pour cake batter into your prepared pan, gently shake the pan back and forth a bit to settle the batter, and transfer to the oven.
- Bake 15-20 minutes, or until the middle is just set. (if using a 9 inch pan, you'll want to check it at 13-15 minutes as it may cook slightly faster) Remove from oven and allow to cool 5-10 minutes in the pan before transferring out of the pan and onto a cooling rack. If you've used a springform pan, you'll open the ring and allow the cake to finish cooling on the cooling rack that way. If you've used the parchment trick, use the "handles" you made with the parchment to gently lift the cake out and transfer to a cooling rack.
- Serve. Enjoy this cake with your favorite toppings, like raspberry sauce, powdered sugar, dairy-free whipped cream, etc. Store leftover cake (without toppings!) in an airtight container at room temperature 1-2 days, in the refrigerator 3-4 days, or freeze up to 2 months.
Make The Raspberry Sauce:
- Blend. Place raspberries, honey, and lemon juice in a blender. Puree until smooth, adding a few tablespoons of water, if needed.
- Strain the mixture through a fine mesh strainer to remove the seeds and refrigerate until ready to serve!
- Serve & Store. Raspberry sauce can be made in advance and will keep in an airtight container in the refrigerator 3-4 days, or frozen up to 2 months.
Notes
- Chocolate. Be sure to use UNSWEETENED chocolate for this recipe. Semi-sweet chocolate, dark chocolate, etc. are not recommended.
- Coconut Oil. Butter or vegan butter can be substituted here, depending on your dietary needs. I don’t recommend substituting other oils, like vegetable oil or olive oil here.
- Cocoa Powder. I recommend natural cocoa powder (like Hershey’s or Ghirardelli), rather than Dutch-processed cocoa powder.
Video
Nutrition
Nutrition facts are an estimate only and will vary based on brands and amounts used.
Find it Online:
https://www.onelovelylife.com/flourless-chocolate-cake/Recipe originally shared February 2017. Updated with step-by-step photos, additional recipe notes, and new video and republished January 2026.
Great taste. Will work on technique. I used a 9inch pan – it’s what I had, so ended up with a 1 inch cake. I cooked it a bit too long, maybe 10 min would have been plenty. I topped it with fresh raspberries, served with a little cream, fresh mint and more berries. Overall, it worked out for my dinner party who didn’t want to eat a heavy, huge dessert after our meal. The flavor was wonderful!!! Will try again!
Sounds like a perfect plan for next time! I’m so glad it was a hit with your guests!
Could I make this in a glass circular pie dish? I have that and a cast iron skillet. And a very small metal cake pan that I could potentially do this in batches!
Hi Kim! You can certainly try! You’d need to know the diameter and depth of the pans to get a good estimate of the bake time, but you can try.
In general, I recommend a metal pan here since it will conduct heat more gently and evenly. Of the options you have, the glass pie pan may be your best choice since the cast iron would be more likely to over-bake the cake, but the cake will likely take longer to bake and may try to “climb” the sides of the pan, giving it a more sunken or uneven appearance later.
Otherwise, you might want to opt for a different chocolate dessert, like our dairy-free chocolate pie that could easily be made in your glass pie pan!